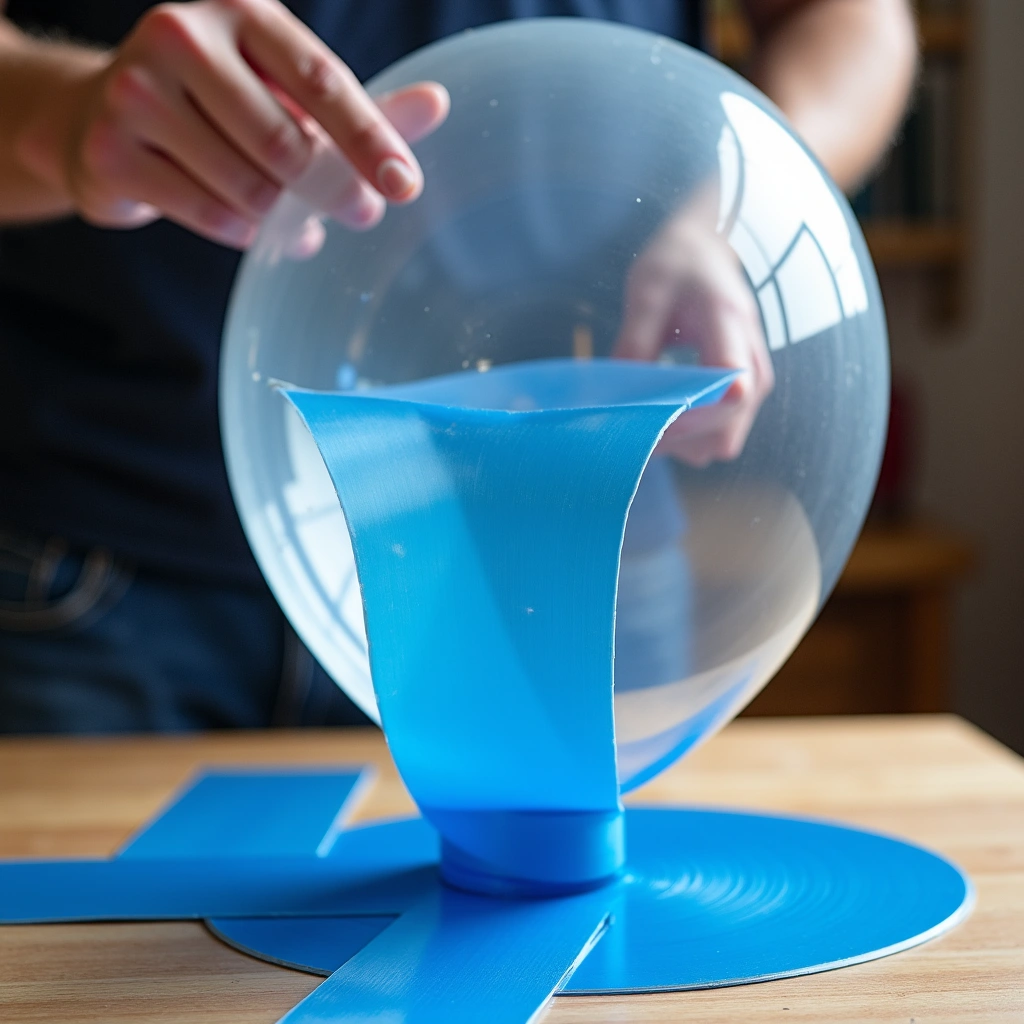
Hey there, fellow DIY enthusiasts and science nerds! Have you ever wanted to experience the magic of laminar flow without diving into a physics textbook or visiting a research lab? Well, grab your water balloon and duct tape, because I’m about to show you how to create your very own laminar flow setup that will impress your friends and make your physics teacher proud (or at least raise an eyebrow).
What is Laminar Flow, Anyway?
First things first, let’s break down what laminar flow actually means. Imagine you’re at a concert, and the crowd is swaying back and forth (classic move, right?). If everyone sways together in a synchronized manner, that’s like laminar flow—smooth and orderly. Now, picture the chaos of a mosh pit where everyone is bouncing around like a bunch of caffeinated kangaroos. That’s turbulent flow. We don’t want that in our water balloon project, folks!
The Magical Ingredients
To create laminar flow at home, you’ll need the following materials:
1. A water balloon
2. Duct tape (because, obviously)
3. A drinking straw or a small pipe (the kind you’d use for a craft project, not the kind you’d find in a plumbing nightmare)
4. A container to catch the water
5. Water, obviously. It’s a water balloon project, not a sand balloon project!
Step-by-Step Instructions
Alright, let’s get this party started!
1. Prepare Your Water Balloon: Fill your water balloon with water. Be careful not to overfill it, unless you want an impromptu water fight. Once it’s full, tie it up tight—no one likes a leaky balloon!
2. Create Your Flow Outlet: Take your drinking straw or small pipe and use duct tape to secure one end to the opening of the balloon. Make sure it’s a snug fit! The goal here is to create a controlled outlet for the water to flow out of the balloon.
3. Position Your Container: Place the container underneath the other end of the straw or pipe to catch the water. You don’t want a waterfall in your living room—unless you’re into that sort of thing.
4. Test Your Laminar Flow: Now for the moment of truth! Gently squeeze the water balloon. If you’ve done everything right, the water should flow out of the straw or pipe in a nice, smooth, laminar stream. Watch in awe as it flows like a graceful ballerina instead of a turbulent hurricane.
Tips and Tricks
• If the water is spraying everywhere, don’t panic! Just adjust how hard you’re squeezing the balloon. Laminar flow requires gentle pressure, so channel your inner Zen master.
• Experiment with different sizes of straws or pipes. A larger diameter might give you a more substantial flow, but it could also lead to some splashy surprises.
• Duct tape is your best friend here—if things get messy, just tape it down and hope for the best!
Why It Matters
Learning about laminar flow is more than just a fun DIY project. It’s a fundamental concept in fluid dynamics that has real-world applications, from designing efficient airplane wings to ensuring that your morning coffee flows smoothly from the pot to your cup. Plus, it’s a great excuse to show off your scientific prowess at parties!
Final Thoughts
So, there you have it! With just a water balloon and some duct tape, you can create a fascinating demonstration of laminar flow right in your own home. Just remember to keep the mosh pits and chaotic water fights at bay. Science is best enjoyed when things are flowing smoothly!
Now, go forth and impress your friends with your newfound knowledge. Who knew a water balloon could be so much fun? And if anyone asks, just tell them you’re conducting important scientific research. Happy experimenting!