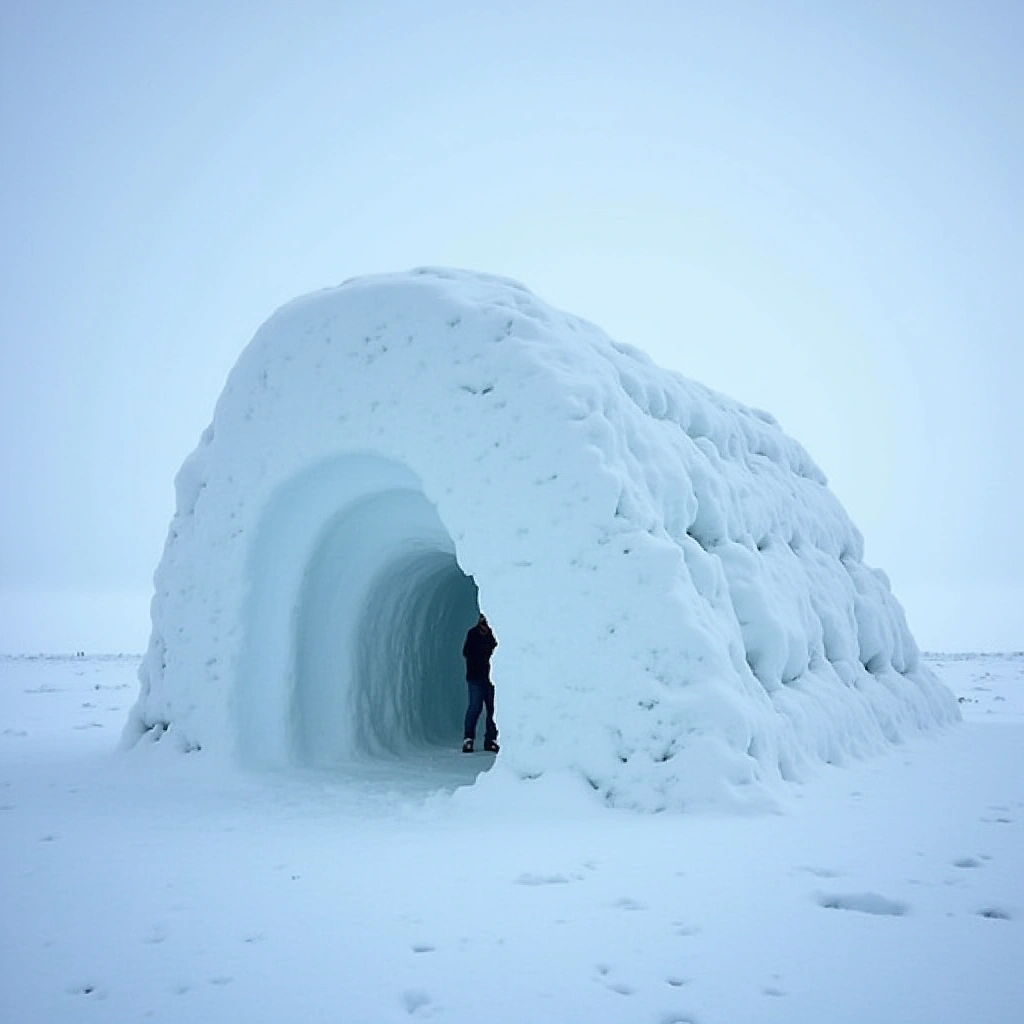
Ah, winter blizzards. Those delightful moments when Mother Nature decides to unleash her inner snowstorm diva. If you’ve ever been caught in one, you know the feeling: the wind howling like a banshee, snow flying at your face like a thousand tiny daggers, and the creeping realization that your cozy couch is a good five miles away. But fear not, my frosty friend! Today, we’re diving headfirst into the wonderfully quirky world of igloo building. Yes, that’s right! You too can become a snow architect and build your very own igloo in about an hour!
Now, before you start gathering your snow gear and channeling your inner Inuit, let’s clear some things up. Building an igloo isn’t just for survival; it’s also a great party trick. Imagine the look on your friends’ faces when you casually mention that you constructed a snow fortress in your backyard. They’ll either be in awe or questioning your sanity. Either way, you’ll be the life of the winter party!
Gather Your Supplies
First things first, you’ll need to gather your supplies. This includes:
- Ideally, you want that perfect packing snow. If it’s too powdery, you’re better off making a snow angel and calling it a day.
- Because digging with your bare hands is so last season.
- This is for cutting blocks of snow. Trust me, you’ll feel like a snow Jedi.
- A friend who can help you build your igloo and take selfies for Instagram. You don’t want to be the only one getting frostbite, right?
Finding the Perfect Spot
Next, you need to find the perfect location. Look for an area that’s not too windy and away from any potential avalanche zones (you know, just in case). Ideally, you’ll want a nice flat space, preferably not next to your neighbor’s prized rose bushes. They might not appreciate your new snow palace.
The Building Process
Once you’ve found your perfect spot and gathered your supplies, it’s time to start building! Here’s a simple step-by-step guide:
- Make a circle about 6-8 feet in diameter. This will be the foundation of your igloo. Think of it as the pizza crust but with no calories (unless you eat the snow, which is a thing).
- Use your saw or knife to cut blocks of snow. Aim for about 2 feet long and 1 foot high. You want them to be sturdy enough to hold each other up but light enough to lift. Kind of like a snow version of Jenga.
- Start stacking the blocks in a circular fashion, slightly leaning the blocks inward as you go up. This is where the magic happens! Channel your inner architect and make sure it looks like a snow dome and not a snow pile.
- Once you reach the top, you’ll need to place a final block to cap it off. Make sure it fits snugly so you don’t end up with a snow shower inside your igloo!
- Finally, create a little tunnel for an entrance. This will keep the warmth in and the blizzard out. Plus, it’s a great dramatic entrance for when you want to surprise your friends.
Igloo Insulation Techniques
So, you’ve built your igloo. Now what? Well, you’ll want to make sure it stays warm inside (yes, igloos can actually be warm!). You can use any of the following methods:
- Pack more snow into the cracks and around the entrance to insulate. It’s like putting a cozy blanket on your igloo!
- If you have any old blankets or sleeping bags, toss them inside. Just don’t blame me if they get a bit damp!
- It’s scientifically proven that body heat can warm up a space. So, invite a friend over and start a snowball fight inside your cozy fortress!
Conclusion: The Joy of Igloo Building
There you have it! You’re now equipped with the knowledge to build your very own igloo in about an hour. Whether it’s for survival, fun, or Instagram fame, igloo building is a fantastic way to embrace the winter weather. So, grab your shovel, channel your inner Inuit, and let the snowflakes fall. Just remember: if it collapses, it’s not a failure; it’s an opportunity to build an even cooler one!
Happy igloo building, and may the snow be ever in your favor!