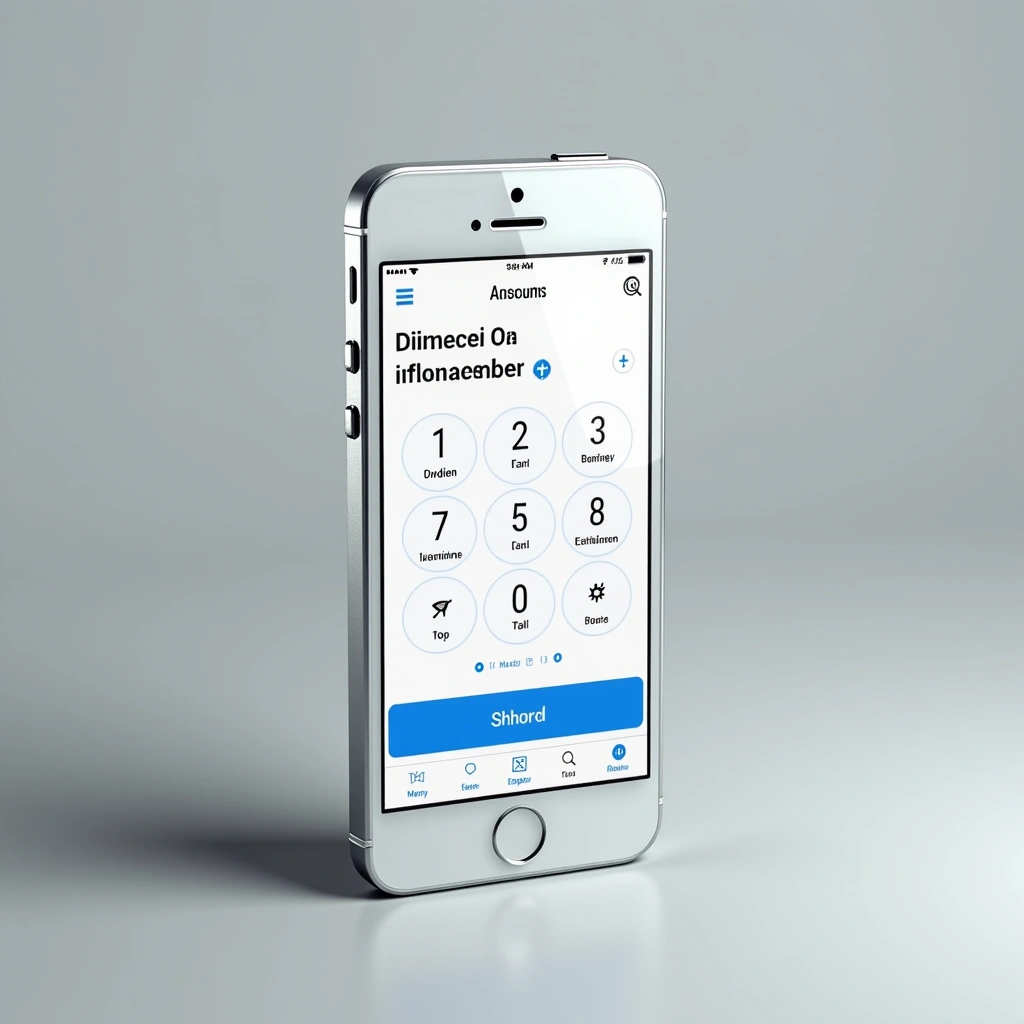
Hey there, tech-savvy friends! So, you’ve decided to dive into the wild world of app development, specifically a direct-dial app that can make you the superhero of instant communication. Who needs to fumble through their contacts when you can dial your best buddy with the tap of a button? Let’s get into the nitty-gritty without putting you to sleep like a boring lecture on quantum physics.
First things first, what exactly is a direct-dial app? Imagine a world where you can call your friends, family, or even that pizza delivery guy without scrolling through your contacts like you’re searching for the last slice of pepperoni. A direct-dial app turns your favorite contacts into one-click buttons, and honestly, who wouldn’t want that? You’ll save time, avoid the awkward scrolling, and be the envy of all your friends.
Step 1: Choose Your Platform
Before you start coding like a caffeine-fueled squirrel, decide if you want to create this app for Android, iOS, or both. Each platform has its own quirks and requirements. If you want to reach the masses, you might want to consider cross-platform solutions like React Native or Flutter. Just remember, each framework has its own learning curve, so choose wisely! Like choosing between pizza and salad – one is obviously better.
Step 2: Set Up Your Development Environment
Once you’ve chosen your platform, it’s time to set up your development environment. Download the necessary software (Android Studio for Android, Xcode for iOS) and get ready to dive into some serious coding. It’s like setting up a new video game console – it might take a while, but once it’s done, you’re in for some epic fun!
Step 3: Design the User Interface
A direct-dial app needs a user interface that screams simplicity. Think big buttons, bright colors, and a layout that even your grandma can navigate. Don’t overcomplicate it; remember, you want people to use it, not call for tech support every time they want to make a call. You can use tools like Figma or Adobe XD to mock up your design before jumping into code.
Step 4: Code the Magic
Now comes the fun part! You’ll need to write code that allows users to directly dial a number when they tap a button. For Android, you’d typically use the Intent system to launch the dialer with a specific number. On iOS, you can use tel: links. It’s like casting a spell in Harry Potter, but instead of “Accio,” you’re shouting “Dialio!”
Here’s a little snippet for Android that will make you feel like a coding wizard:
Intent intent = new Intent(Intent.ACTION_DIAL); intent.setData(Uri.parse("tel:" + phoneNumber)); startActivity(intent);And for iOS, you can do something equally slick with:
if let url = URL(string: "tel:\(phoneNumber)") { UIApplication.shared.open(url) }Step 5: Test, Test, and Test Again
Before you unleash your app on the world, you need to test it like you’re a contestant on a game show. Get your friends to try it out, make sure it doesn’t crash, and ensure that it dials correctly. You don’t want to be that person who accidentally calls their ex when they meant to call their mom! Trust me; no one wants that drama.
Step 6: Publish Your App
Congratulations! You’ve created your direct-dial app. Now it’s time to publish it on the Google Play Store or Apple App Store. Get ready for the whirlwind of app submission guidelines and approval processes. It’s like preparing for a first date – there’s a lot of anxiety, but at the end of the day, it’ll be worth it if all goes well!
In conclusion, creating a direct-dial app is not just a fun project; it’s a public service. You’ll save people time, reduce the risk of accidental calls, and let them connect with their loved ones faster than you can say “instant accountability.” So, what are you waiting for? Roll up your sleeves, grab your coffee, and get coding!
And remember, if all else fails and your app doesn’t work, just tell people it’s a beta version. Everyone loves a good beta version excuse!