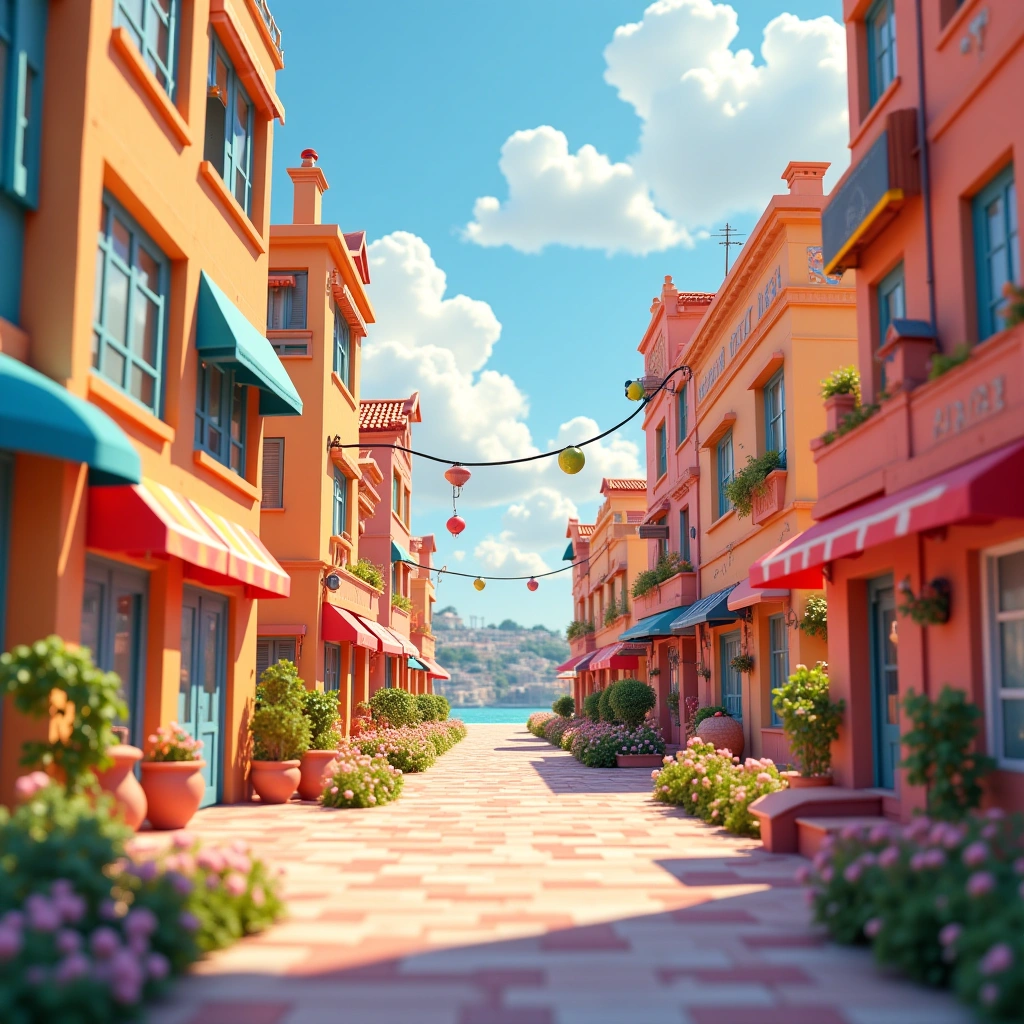
So, you’ve drawn a masterpiece on a piece of paper or maybe even doodled something spectacular on your tablet, and now you’re gazing at it, wondering how on earth you can transform this 2D concept into a colorful, lively 3D environment. Fear not, my artistic friend! Today, we’re diving into the magical world of 3D modeling, where your flat creations can leap off the page and strut their stuff in three dimensions. Buckle up, because we’re about to embark on an adventure that even your 2D self couldn’t have imagined.
In this blog post, we will delve into the fascinating world of integrating 2D characters seamlessly into a 3D environment. Follow along as we explore the creative process, from scanning 3D models using an iPhone to animating characters in TV Paint and finally bringing everything together in Blender.
Step 1: The Blueprint – Planning Your Environment
Before you start throwing colors around like a toddler with finger paints, it’s best to have a plan. Think of your 2D concept as the blueprint for a house. You wouldn’t just start building a mansion without knowing where the bathroom goes, would you? (Unless you enjoy surprise plumbing issues.) Start by breaking down your 2D artwork into layers and elements. What are the key components? Is there a magical forest, a bustling city, or perhaps a cozy café? List them out and start sketching how they might look in 3D.
Step 2: Choose Your Tools Wisely
You wouldn’t use a butter knife to carve a turkey, right? Similarly, picking the right 3D modeling software is crucial. There are plenty of options out there, from Blender (which is free and has a loyal fanbase) to more advanced tools like Autodesk Maya or Cinema 4D. Each has its quirks, so do a bit of research and find out which one feels like a comfy pair of shoes for your creative journey.
Step 3: Sculpting the 3D Elements
Now comes the fun part: actually creating your 3D environment! Start by modeling the basic shapes of your elements. If you’re working with a forest, you might begin with simple shapes for trees and rocks. Don’t worry about making it perfect right away; that’s what the ‘undo’ button is for. As you add details, like bark texture on trees or cute little critters peeking out from behind bushes, your environment will start to take shape. Remember, patience is key! Rome wasn’t built in a day, and neither will your 3D masterpiece.
Step 4: Color Me Crazy
Once you have your models, it’s time to slap on some color! This is where you can really let your creativity shine. Use textures and materials to add depth and realism to your models. Want that forest to have a magical glow? There’s a shader for that! Feeling like your city needs a bit of grunge? There’s a texture for that too! Just make sure not to go overboard; we don’t want it to look like a unicorn threw up on your scene.
Step 5: Lighting the Way
What’s a stunning environment without the right lighting? Lighting can make or break your 3D scene. Experiment with different light sources to create mood and atmosphere. Want a cozy café vibe? Soft, warm lighting is your best friend. Or maybe you’re going for an eerie forest at night? In that case, a few strategically placed moonbeams will do the trick. Just remember to keep it natural; no one likes a rave in the middle of a serene forest.
Step 6: Bringing It All Together
Now that you’ve got your models, colors, and lighting all sorted, it’s time to bring everything together. This is where you can start adding animations or interactive elements if you’re feeling particularly ambitious. Imagine your characters waving, leaves rustling in the wind, or even a cat casually strolling by. These little touches can breathe life into your environment and make it feel immersive.
Step 7: Show It Off!
Finally, after countless hours of hard work, it’s time to share your creation with the world. Whether you choose to showcase it on social media, upload it to a game engine, or even just show it off to your friends, take a moment to appreciate how far you’ve come. And don’t forget to pat yourself on the back for turning that simple 2D concept into a vibrant 3D environment!
Conclusion
Turning a 2D concept into a colorful and lively 3D environment is no small feat, but with a little planning, the right tools, and a sprinkle of creativity, you can do it! So grab your digital paintbrush, unleash your imagination, and let your 2D creations leap into the third dimension. Who knows? You might just end up with a masterpiece that even the 2D version of yourself would applaud. Happy modeling!
Inspired by: “How to Turn a 2D Concept Into a Colorful and Lively 3D Environment” (r/technology)