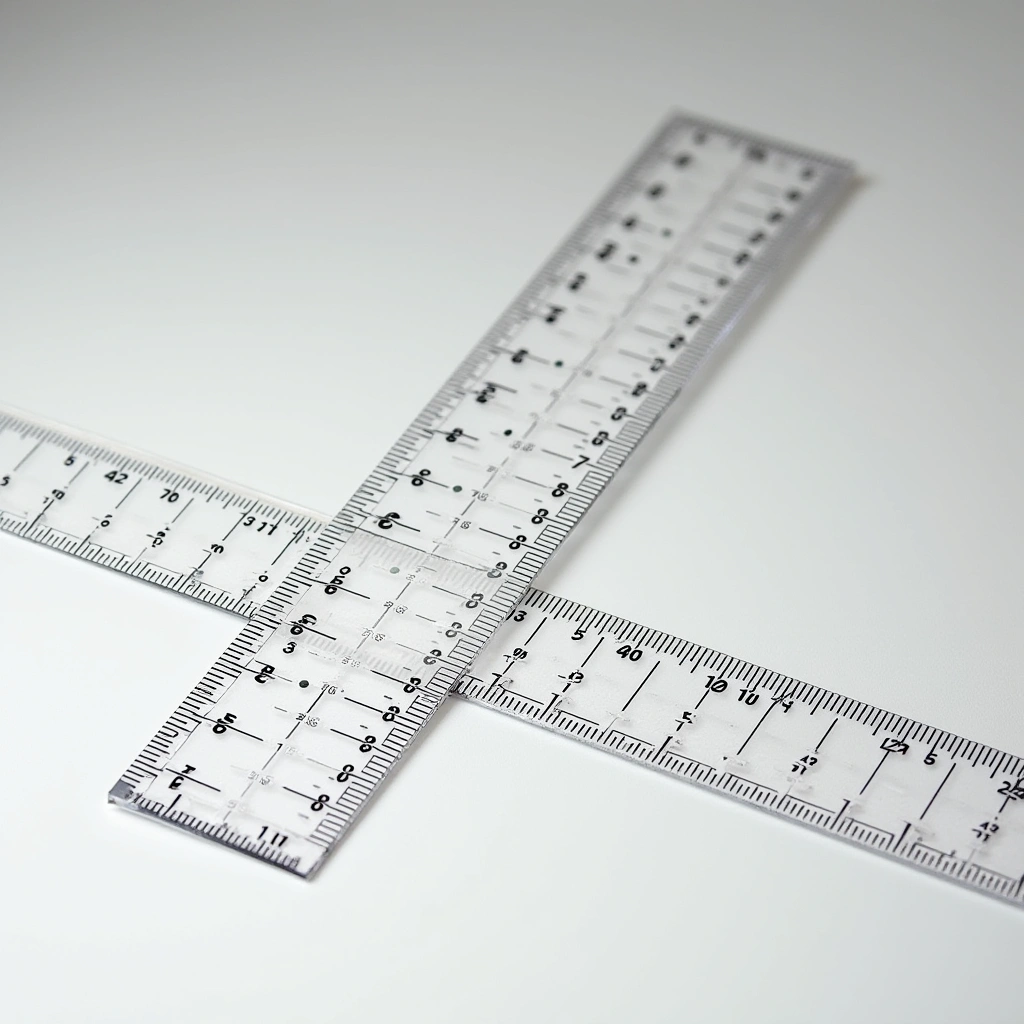
So, you’ve got an L-ruler that’s more of a suggestion than a ruler? Welcome to the club! Many of us have faced the existential crisis of realizing our tools aren’t as square as we thought. But fear not, my friend! Today, we’re diving deep into the world of recalibrating the squareness of your beloved L-ruler. Get ready to unleash your inner perfectionist!
Related reading: Ruler Squareness
What is an L-Ruler?
Ah, the L-ruler! A tool that should be your trusty sidekick in the quest for precision. It’s that handy little device that looks like it could be the prop in a low-budget sci-fi movie. You use it for everything from drafting architectural plans to measuring the exact width of your pizza slice (because that’s very important, right?). But what happens when it’s not square? You might as well be using a banana as a straightedge!
Why Does Squareness Matter?
Imagine trying to assemble IKEA furniture with a crooked L-ruler. You’d end up with a bookshelf that looks like it’s had one too many drinks at the bar! Squareness is crucial for ensuring that your lines are straight and your angles are correct. It’s the difference between a masterpiece and a modern art disaster.
Gather Your Tools
Before you go on your squareness adventure, you’ll need a few things:
- A flat surface (preferably not your cat’s back, no matter how tempting it might be).
- A known square object (like a piece of paper or your ex’s emotional baggage).
- A marker or pencil (for when you inevitably mess things up and need to draw a new line).
- Patience (because let’s face it, you might need it).
Step 1: Find a Flat Surface
First things first, you need a flat surface. You’ll want to avoid surfaces that are more uneven than your sleep schedule after a Netflix binge. A clean table or countertop works best. Clear off the clutter – yes, that includes the empty pizza boxes!
Step 2: Check Your L-Ruler
Now, place your L-ruler on the flat surface. Take your known square object and position it against one side of the L-ruler. If you notice gaps that could rival the Grand Canyon, it’s time to get recalibrating.
Step 3: The Calibration Process
Here’s where the magic happens. If your L-ruler is adjustable, there might be screws you can loosen to tweak its position. If not, grab your marker and gently draw a new line parallel to the square object. Voila! You’ve just created a new ‘square’ line. But remember, if you find yourself making constant adjustments, it’s time to consider a new ruler (or a new hobby).
Step 4: Test Your Work
After recalibrating, it’s time for the ultimate test. Measure something! Grab a piece of paper and see if your lines are straight. If they still look like a rollercoaster, you might want to reconsider your life choices.
Final Thoughts
Recalibrating the squareness of your L-ruler can feel like a rite of passage. Sure, it’s a bit of a hassle, but you’ll come out the other side with a tool that’s ready to help you in your creative pursuits. Just remember, if all else fails, there’s always the option of embracing the chaos and calling it “abstract art.” Happy measuring!
Inspired by: “How to recalibrate the squareness of your L-ruler” (r/interestingasfuck)